大家好,又见面了,我是你们的朋友全栈君。如果您正在找激活码,请点击查看最新教程,关注关注公众号 “全栈程序员社区” 获取激活教程,可能之前旧版本教程已经失效.最新Idea2022.1教程亲测有效,一键激活。
Jetbrains全系列IDE使用 1年只要46元 售后保障 童叟无欺
项目上线之后,如果日志打印的很模糊或者业务逻辑比较复杂,有时候无法定位具体的错误原因,因此可以通过IDEA远程代理进行Debug。
线上的代码一定要和本地的一致!
环境:
- 2.1.4.RELEASE(org.springframework.boot)
- jdk1.8
- Apache Maven 3.5.0
1、先创建一个准备远程调试的Demo,注意构建项目的配置
<?xml version="1.0" encoding="UTF-8"?>
<project xmlns="http://maven.apache.org/POM/4.0.0" xmlns:xsi="http://www.w3.org/2001/XMLSchema-instance"
	xsi:schemaLocation="http://maven.apache.org/POM/4.0.0 https://maven.apache.org/xsd/maven-4.0.0.xsd">
	<modelVersion>4.0.0</modelVersion>
	<parent>
		<groupId>org.springframework.boot</groupId>
		<artifactId>spring-boot-starter-parent</artifactId>
		<version>2.1.4.RELEASE</version>
		<relativePath/> <!-- lookup parent from repository -->
	</parent>
	<groupId>com.remote.test</groupId>
	<artifactId>remote_test</artifactId>
	<version>0.0.1-SNAPSHOT</version>
	<name>remote_test</name>
	<description>Demo project for Spring Boot</description>

	<properties>
		<java.version>1.8</java.version>
	</properties>

	<dependencies>
		<dependency>
			<groupId>org.springframework.boot</groupId>
			<artifactId>spring-boot-starter</artifactId>
		</dependency>

		<dependency>
			<groupId>org.springframework.boot</groupId>
			<artifactId>spring-boot-starter-test</artifactId>
			<scope>test</scope>
		</dependency>
		<dependency>
			<groupId>org.springframework.boot</groupId>
			<artifactId>spring-boot-starter-web</artifactId>
		</dependency>
		<dependency>
			<groupId>org.junit.jupiter</groupId>
			<artifactId>junit-jupiter-api</artifactId>
			<version>RELEASE</version>
			<scope>test</scope>
		</dependency>
	</dependencies>

	<build>
		<plugins>
			<plugin>
				<groupId>org.apache.maven.plugins</groupId>
				<artifactId>maven-shade-plugin</artifactId>
				<version>2.2</version>
				<dependencies>
					<dependency>
						<groupId>org.springframework.boot</groupId>
						<artifactId>spring-boot-maven-plugin</artifactId>
						<version>2.1.4.RELEASE</version>
					</dependency>
				</dependencies>
				<configuration>
					<keepDependenciesWithProvidedScope>true</keepDependenciesWithProvidedScope>
					<createDependencyReducedPom>false</createDependencyReducedPom>
					<filters>
						<filter>
							<artifact>*:*</artifact>
							<excludes>
								<exclude>META-INF/*.SF</exclude>
								<exclude>META-INF/*.DSA</exclude>
								<exclude>META-INF/*.RSA</exclude>
							</excludes>
						</filter>
					</filters>
				</configuration>
				<executions>
					<execution>
						<phase>package</phase>
						<goals>
							<goal>shade</goal>
						</goals>
						<configuration>
							<finalName>${project.artifactId}-${project.version}-all</finalName>
							<transformers>
								<transformer implementation="org.apache.maven.plugins.shade.resource.AppendingTransformer">
									<resource>META-INF/spring.handlers</resource>
								</transformer>
								<transformer implementation="org.springframework.boot.maven.PropertiesMergingResourceTransformer">
									<resource>META-INF/spring.factories</resource>
								</transformer>
								<transformer implementation="org.apache.maven.plugins.shade.resource.AppendingTransformer">
									<resource>META-INF/spring.schemas</resource>
								</transformer>
								<transformer implementation="org.apache.maven.plugins.shade.resource.ServicesResourceTransformer"/>
								<transformer implementation="org.apache.maven.plugins.shade.resource.ManifestResourceTransformer">
									<!--根据项目的全名指定启动类-->
                                    <mainClass>com.remote.test.remote_test.RemoteTestApplication</mainClass>
								</transformer>
							</transformers>
						</configuration>
					</execution>
				</executions>
			</plugin>
		</plugins>
	</build>

</project>
package com.remote.test.remote_test;
import org.slf4j.Logger;
import org.slf4j.LoggerFactory;
import org.springframework.web.bind.annotation.PostMapping;
import org.springframework.web.bind.annotation.RequestMapping;
import org.springframework.web.bind.annotation.RequestParam;
import org.springframework.web.bind.annotation.RestController;
import java.util.HashMap;
import java.util.Map;
@RestController
@RequestMapping("remote/test")
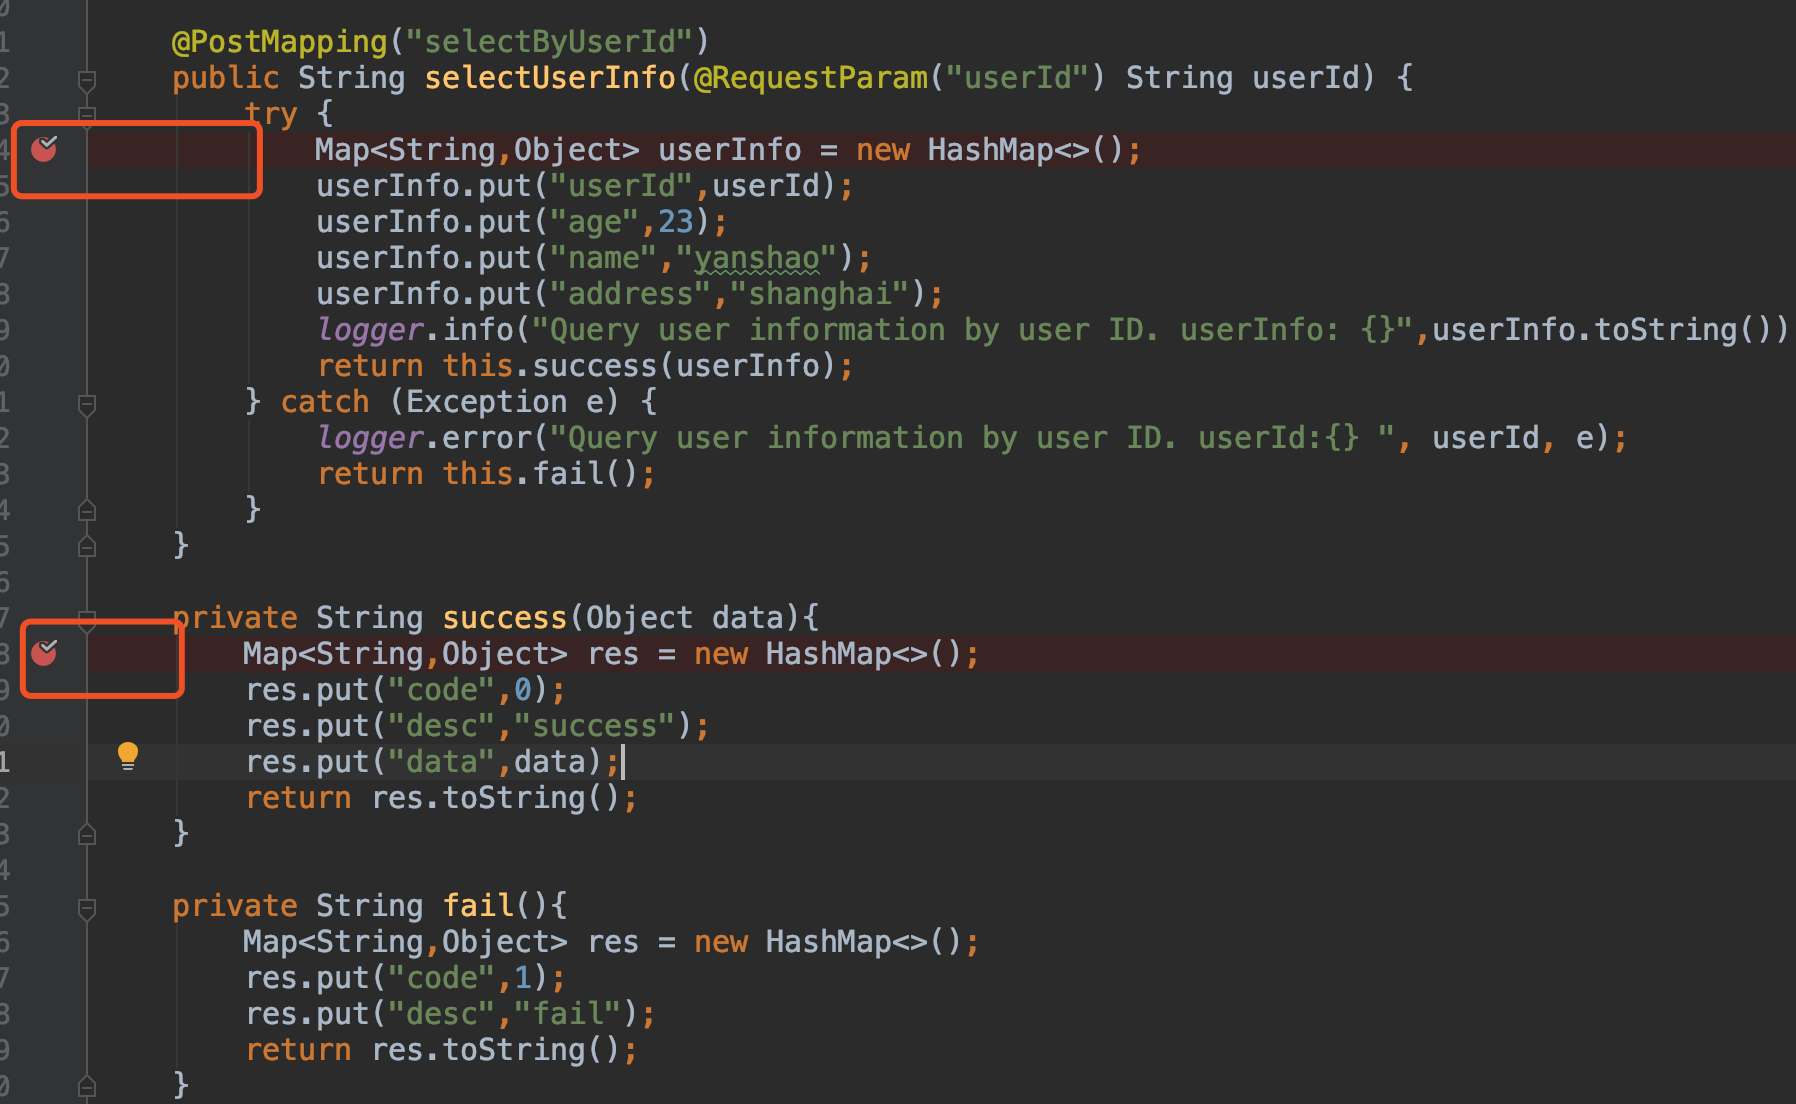
public class UserController {
private static final Logger logger = LoggerFactory.getLogger(UserController.class);
@PostMapping("selectByUserId")
public String selectUserInfo(@RequestParam("userId") String userId) {
try {
Map<String,Object> userInfo = new HashMap<>();
userInfo.put("userId",userId);
userInfo.put("age",23);
userInfo.put("name","yanshao");
userInfo.put("address","shanghai");
logger.info("Query user information by user ID. userInfo: {}",userInfo.toString());
return this.success(userInfo);
} catch (Exception e) {
logger.error("Query user information by user ID. userId:{} ", userId, e);
return this.fail();
}
}
private String success(Object data){
Map<String,Object> res = new HashMap<>();
res.put("code",0);
res.put("desc","success");
res.put("data",data);
return res.toString();
}
private String fail(){
Map<String,Object> res = new HashMap<>();
res.put("code",1);
res.put("desc","fail");
return res.toString();
}
}
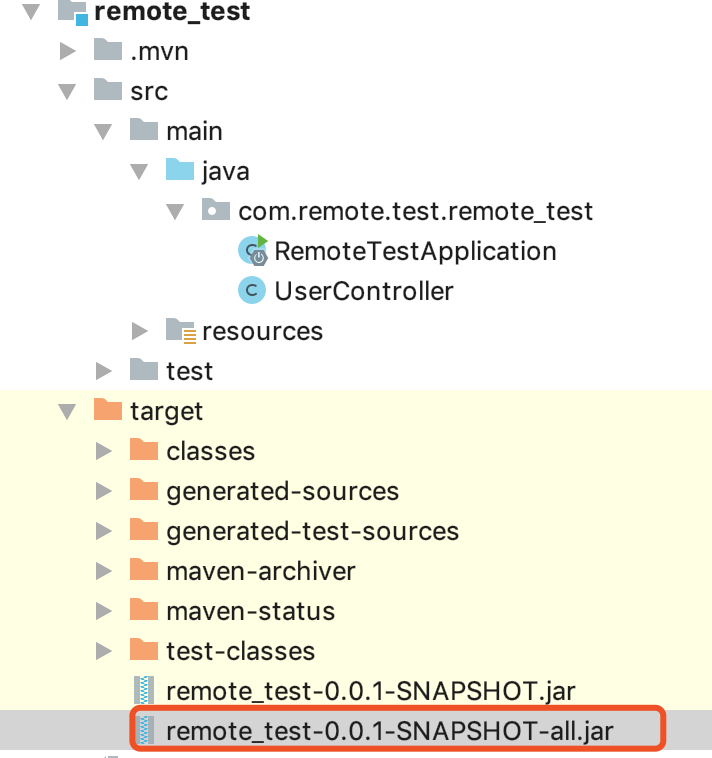
2、打包
输入:mvn clean package,(大概需要等几分钟),最好在构建之前指定本地repository,就不需要重新下载jar包了。


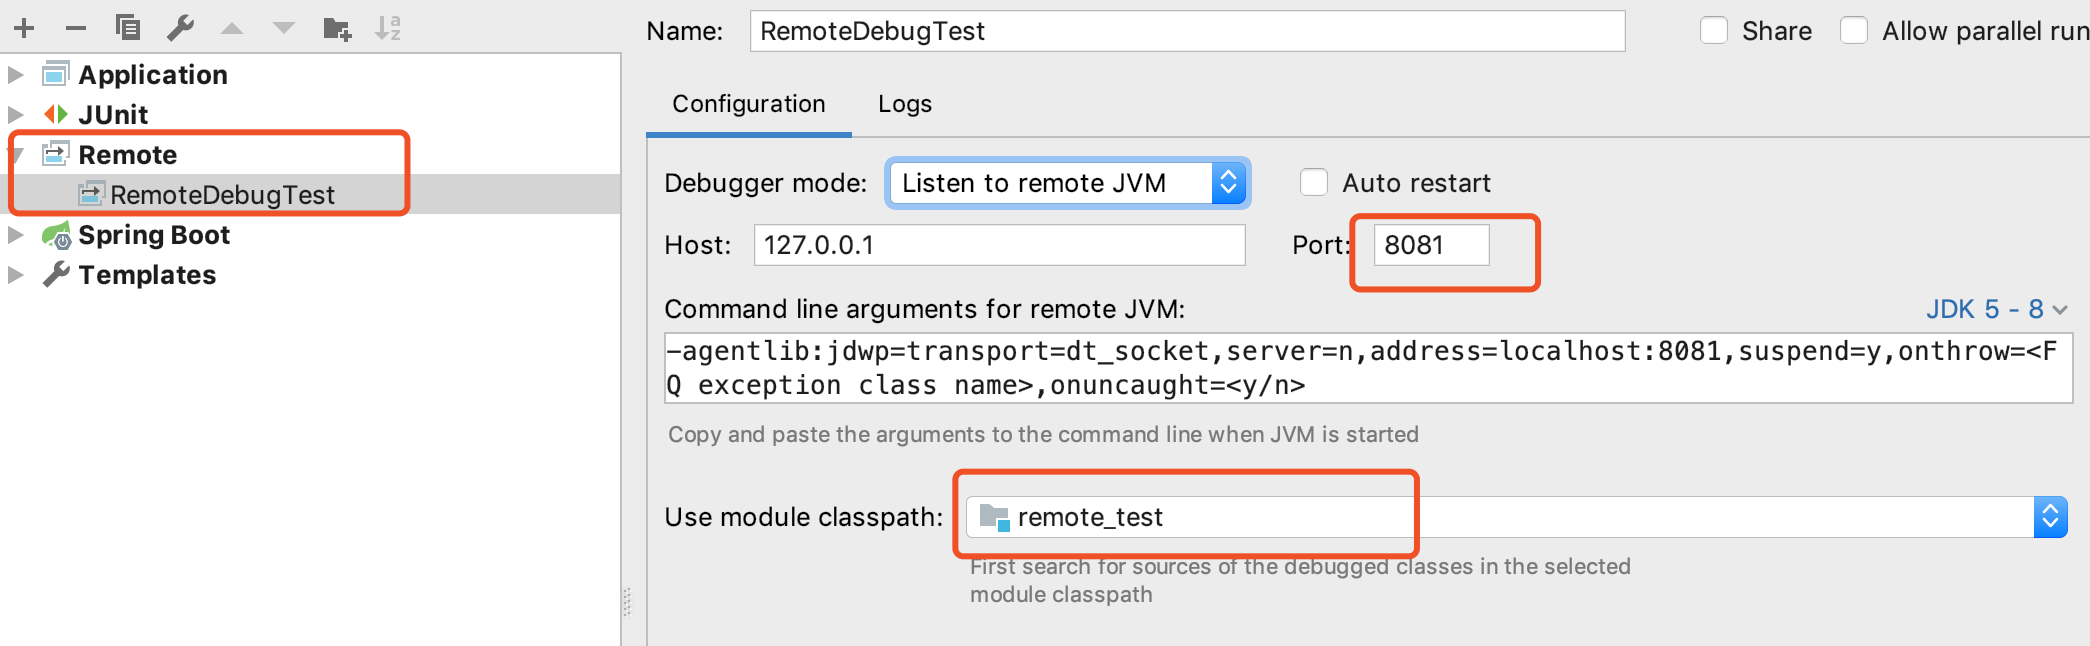
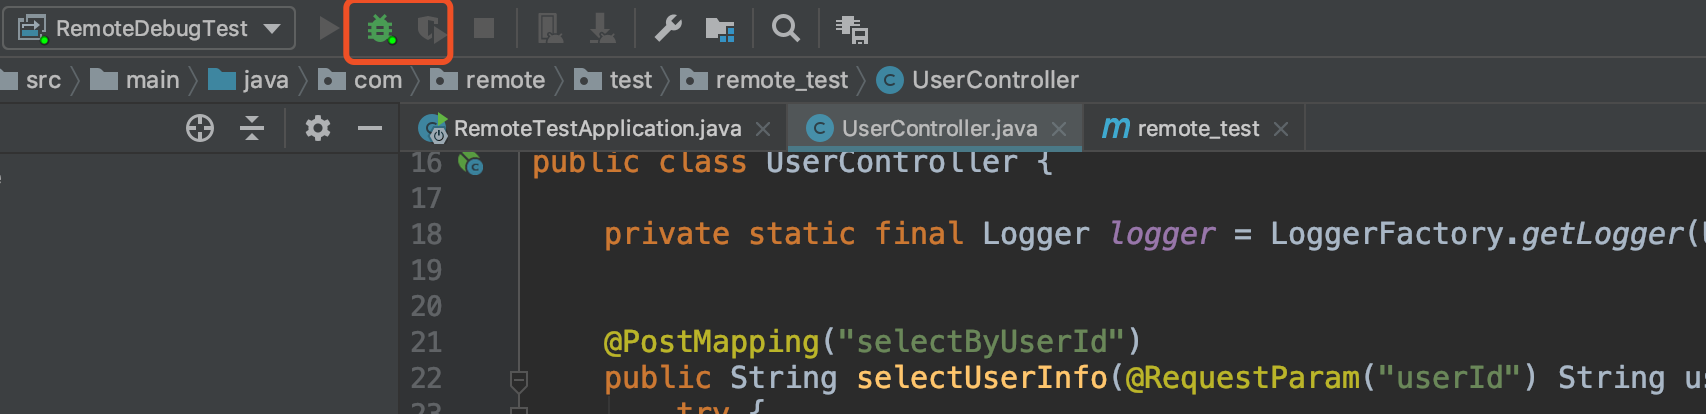
3、在IDEA配置远程Debug
指定socket port = 8081,指定准备debug的模块
4、在终端启动刚才打好的jar包
a. 先在IDEA启动debug
b. 然后在终端输入命令:java -agentlib:jdwp=transport=dt_socket,server=n,address=localhost:8081 -jar remote_test-0.0.1-SNAPSHOT-all.jar
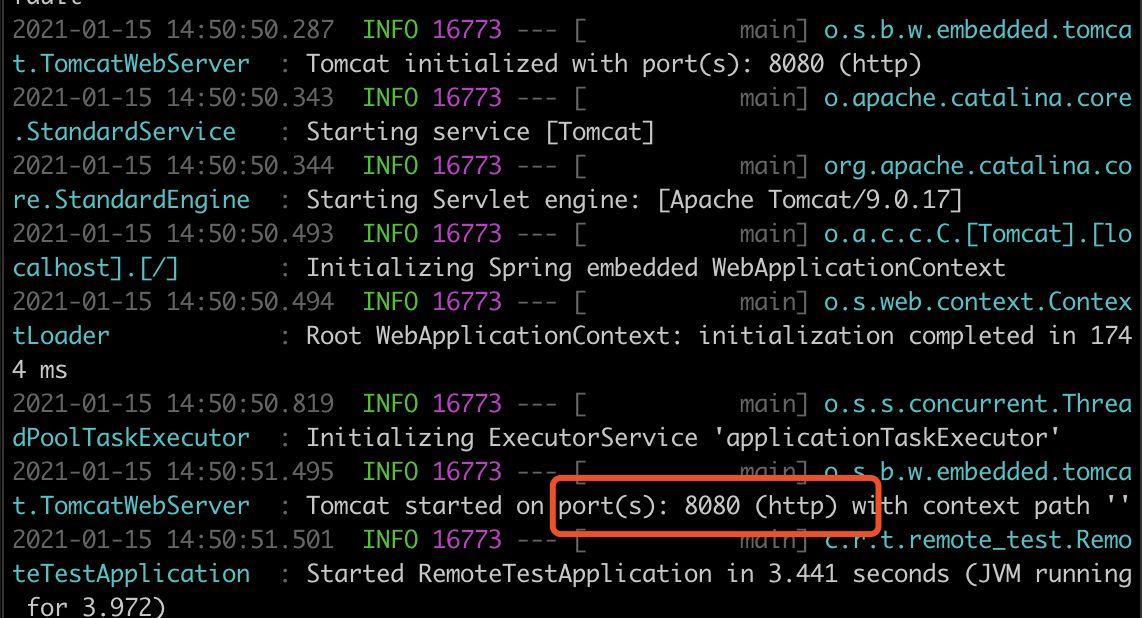
5、测试
在准备请求的接口上标记断点

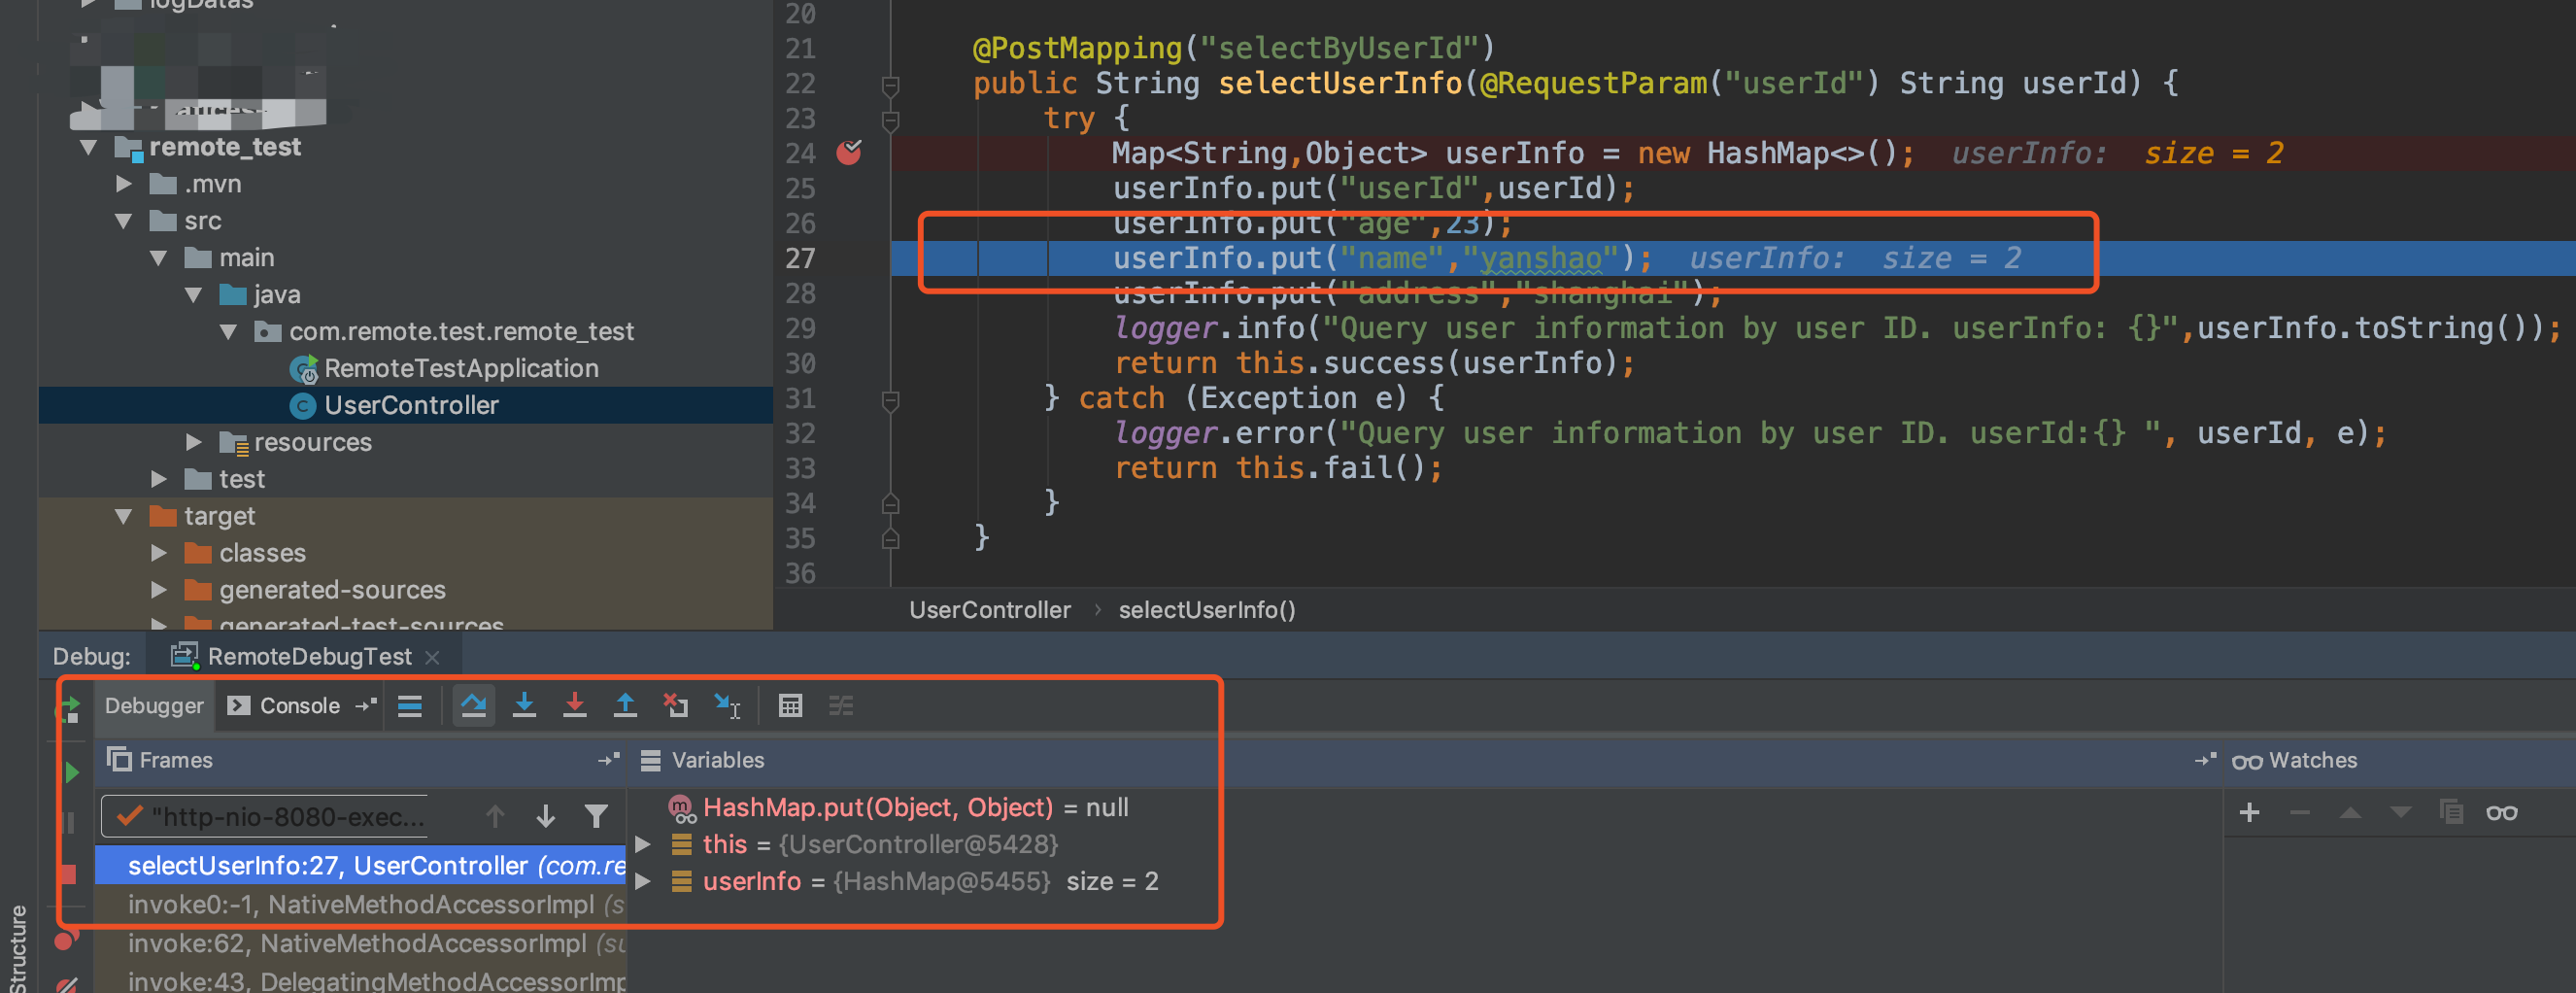
注意:必须先在IDEA启动Debug,然后再启动项目
➜  Desktop java -agentlib:jdwp=transport=dt_socket,server=n,address=localhost:8081 -jar remote_test-0.0.1-SNAPSHOT-all.jar

ERROR: transport error 202: connect failed: Connection refused
ERROR: JDWP Transport dt_socket failed to initialize, TRANSPORT_INIT(510)
JDWP exit error AGENT_ERROR_TRANSPORT_INIT(197): No transports initialized [debugInit.c:750]
版权声明:本文内容由互联网用户自发贡献,该文观点仅代表作者本人。本站仅提供信息存储空间服务,不拥有所有权,不承担相关法律责任。如发现本站有涉嫌侵权/违法违规的内容, 请发送邮件至 举报,一经查实,本站将立刻删除。
发布者:全栈程序员-用户IM,转载请注明出处:https://javaforall.cn/195318.html原文链接:https://javaforall.cn
【正版授权,激活自己账号】: Jetbrains全家桶Ide使用,1年售后保障,每天仅需1毛
【官方授权 正版激活】: 官方授权 正版激活 支持Jetbrains家族下所有IDE 使用个人JB账号...
