大家好,又见面了,我是你们的朋友全栈君。
旅游管理系统
好像没有必要一段段的把代码贴上来,毫无意义,不如把完整的项目放出来,基本有点基础的都可以看懂哈,然后博客记录一下遇到的问题和重要的知识点。。
项目 github 网址:https://github.com/szluyu99/travels/tree/master
视频链接:https://www.bilibili.com/video/BV1Nt4y127Jh?p=19
项目简介
所需技术栈:
- 后端技术栈:springboot + mybatis
- 前后端分离:axios、json
- 前端技术栈、技术架构:Vue、node.js
前置知识:
- 了解 Vue 组件之前的知识
- 对 springboot + mybatis 较熟悉
开发流程:
- 需求分析
- 库表设计
- 编码(项目环境搭建+编码)
- 项目调试
- 项目部署上线
需求分析:
- 用户模块:登录 + 注册
- 省份模块:一个省份可能存在多个景点
- 景点模块:一个景点对应多个省份
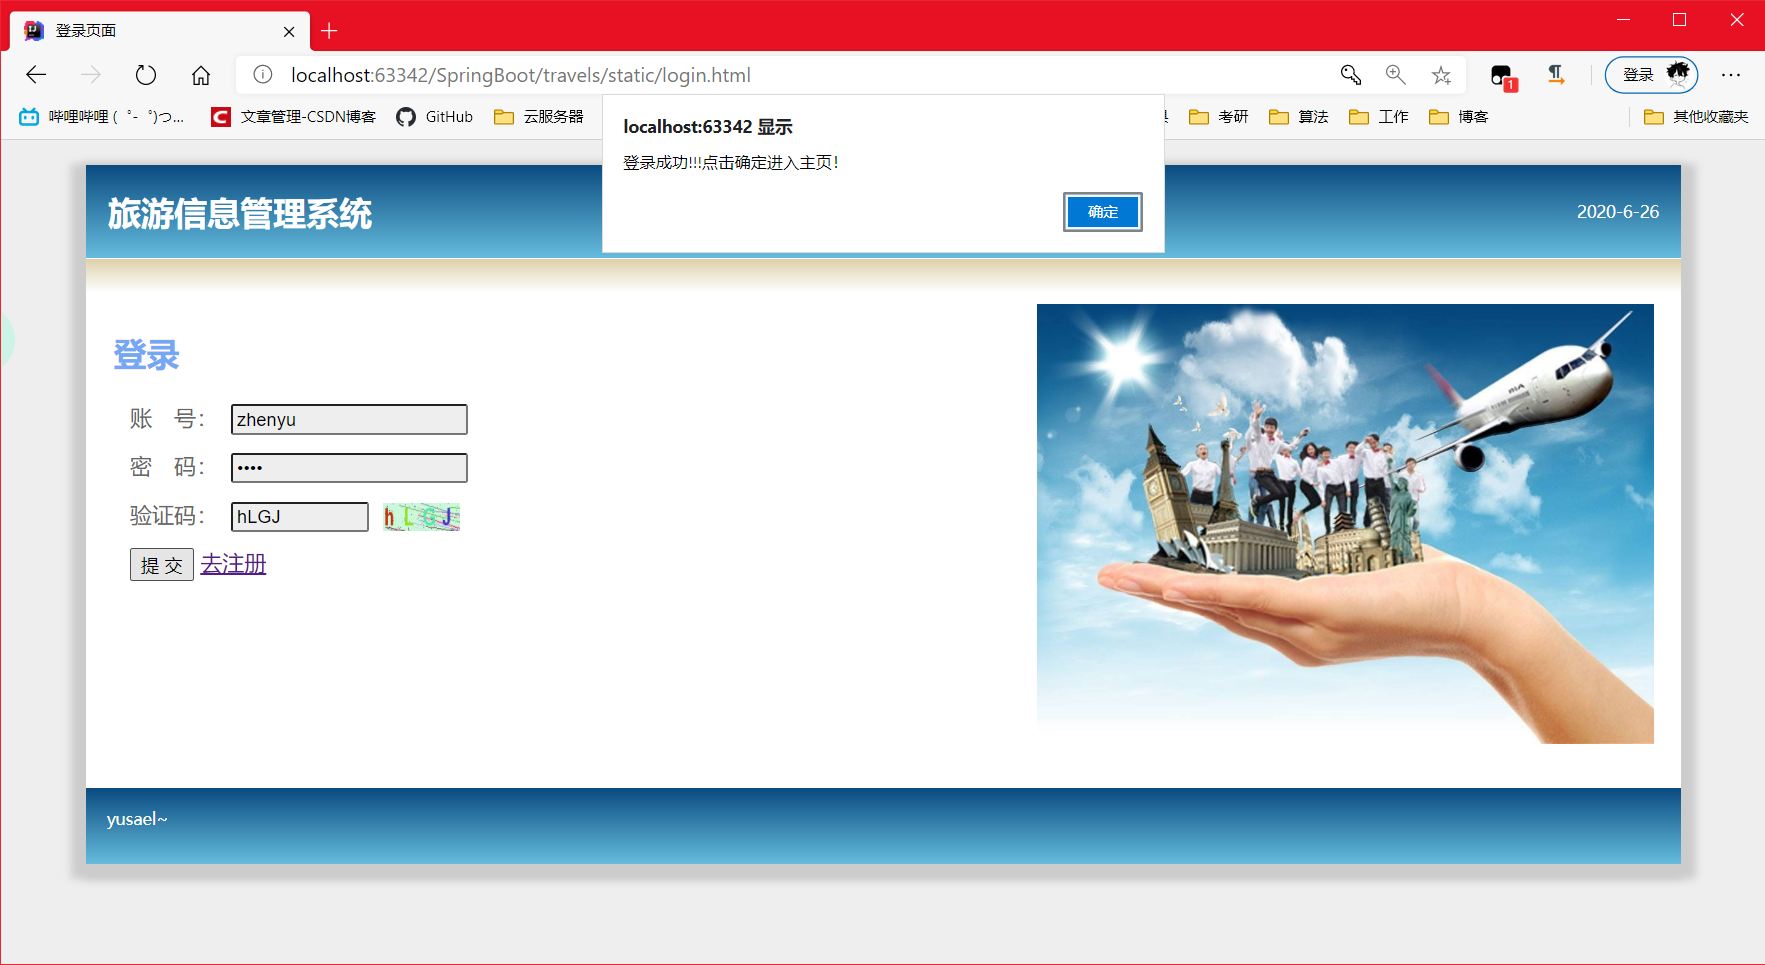
项目演示
进入系统需登录:

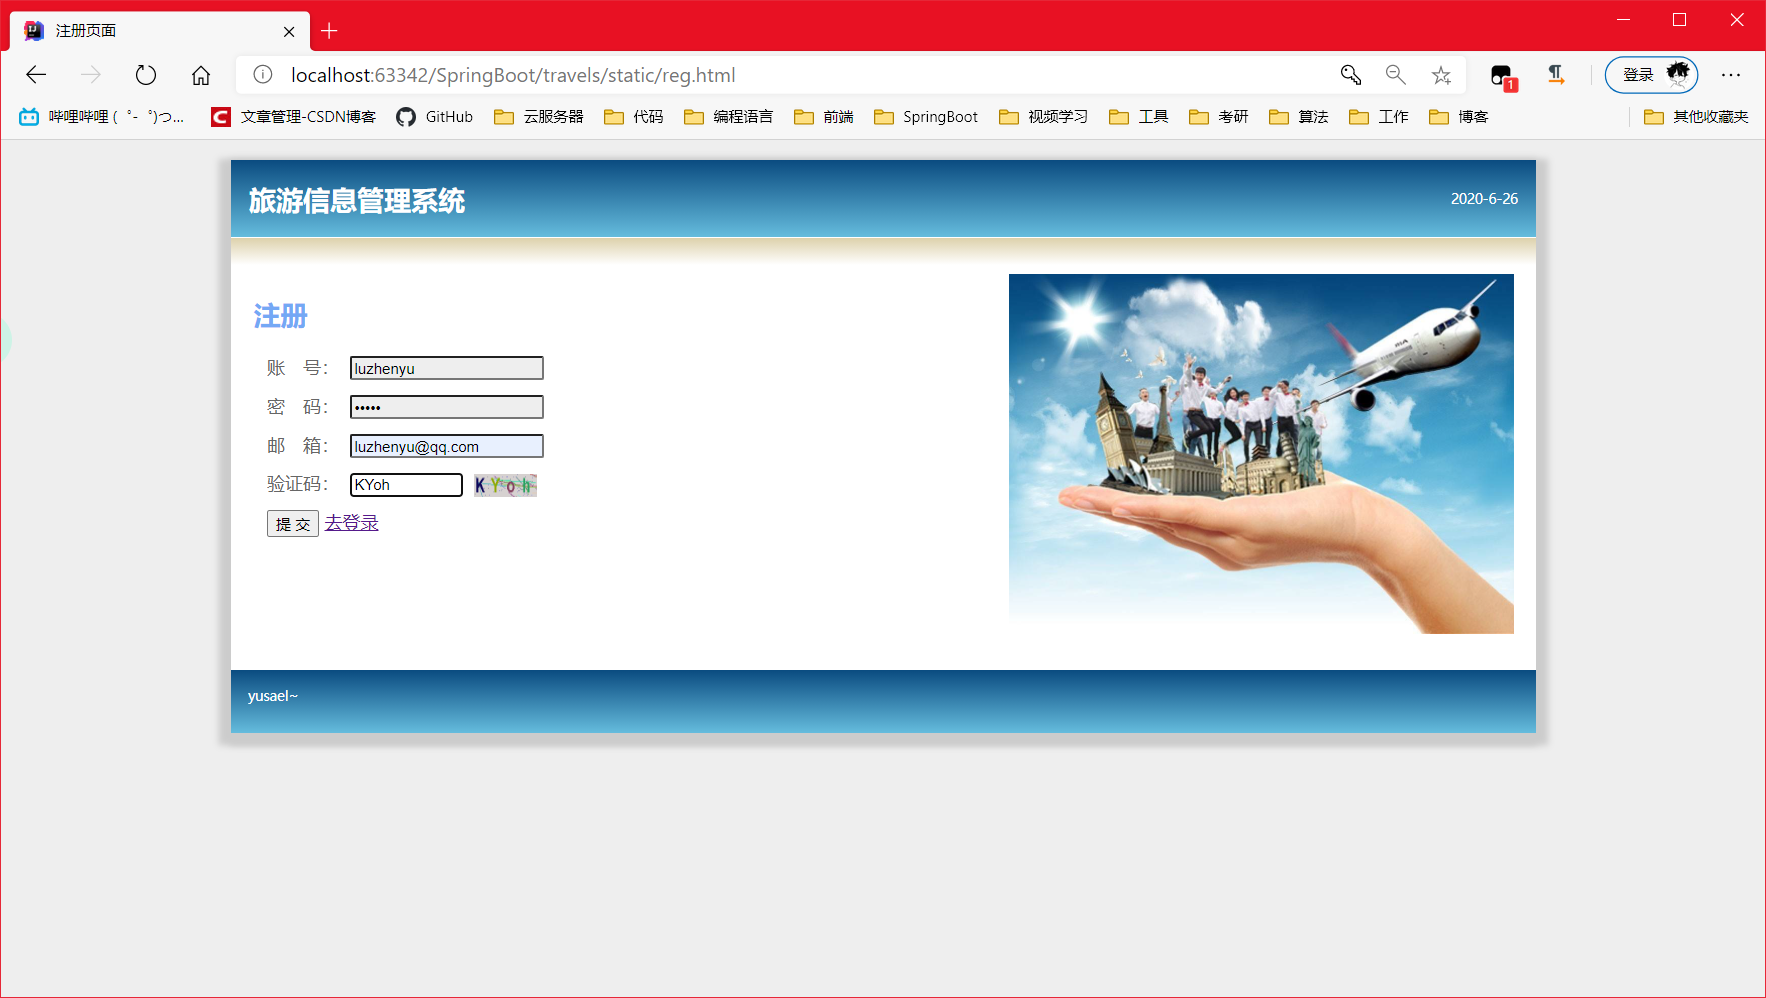
用户注册页面:
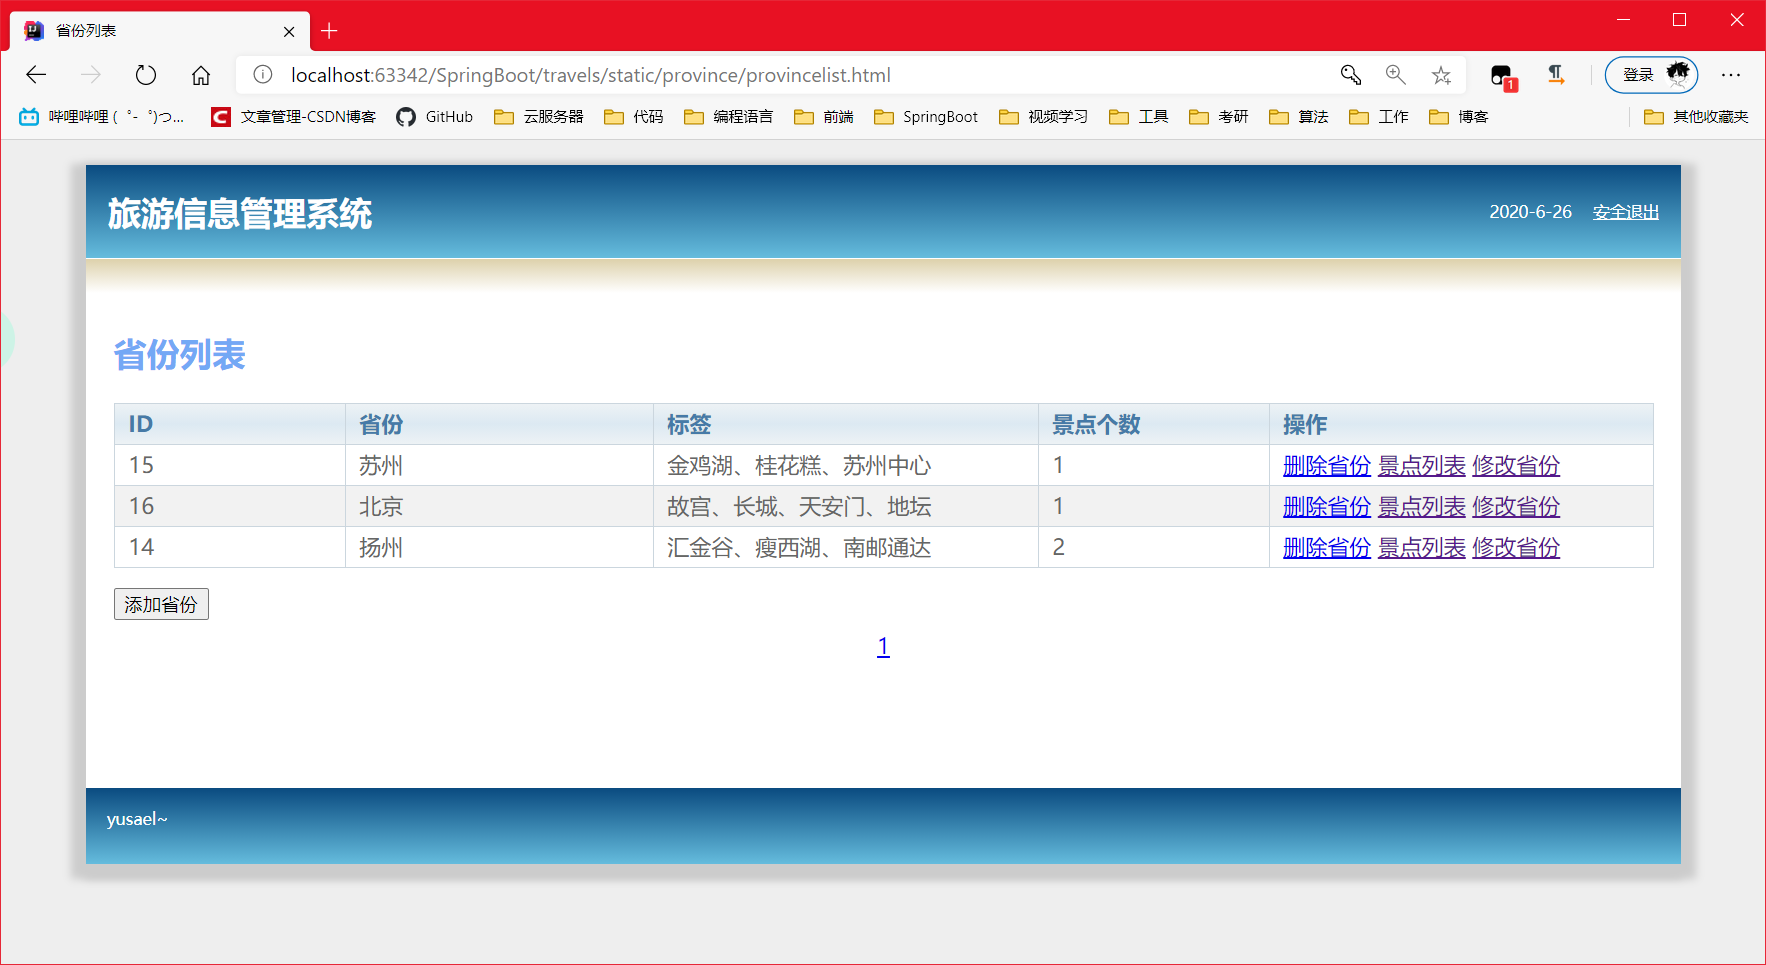
省份列表页面:
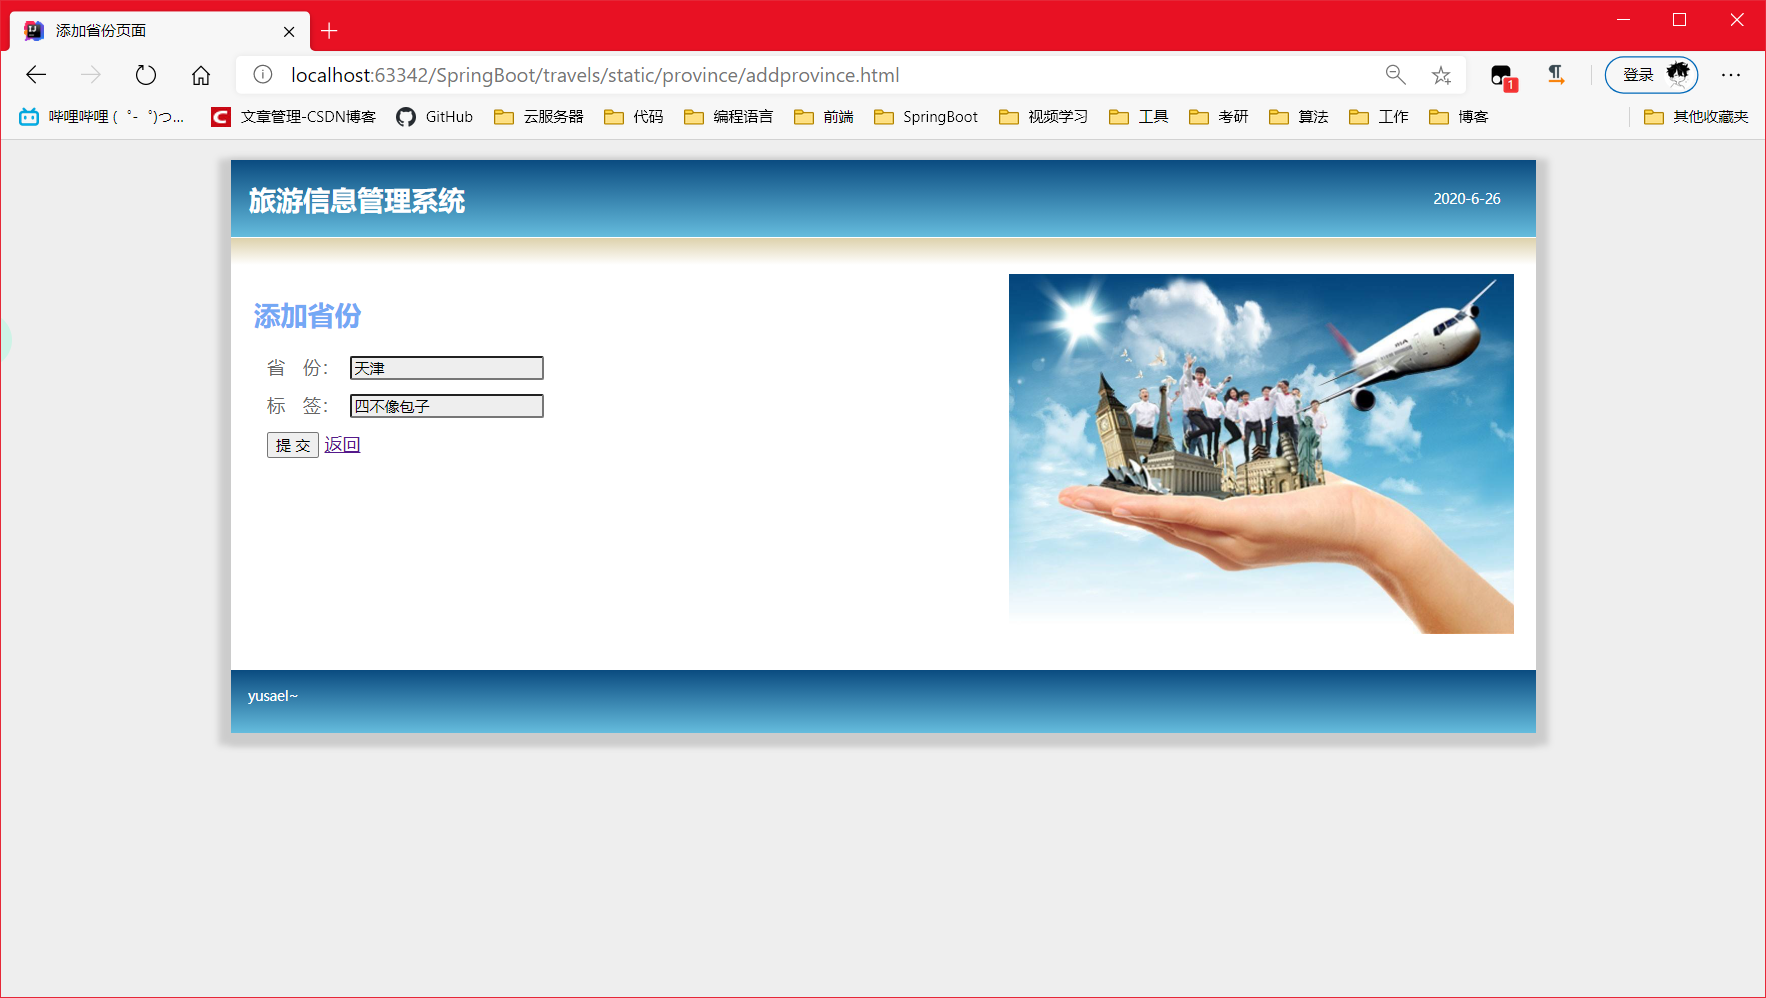
添加省份页面:
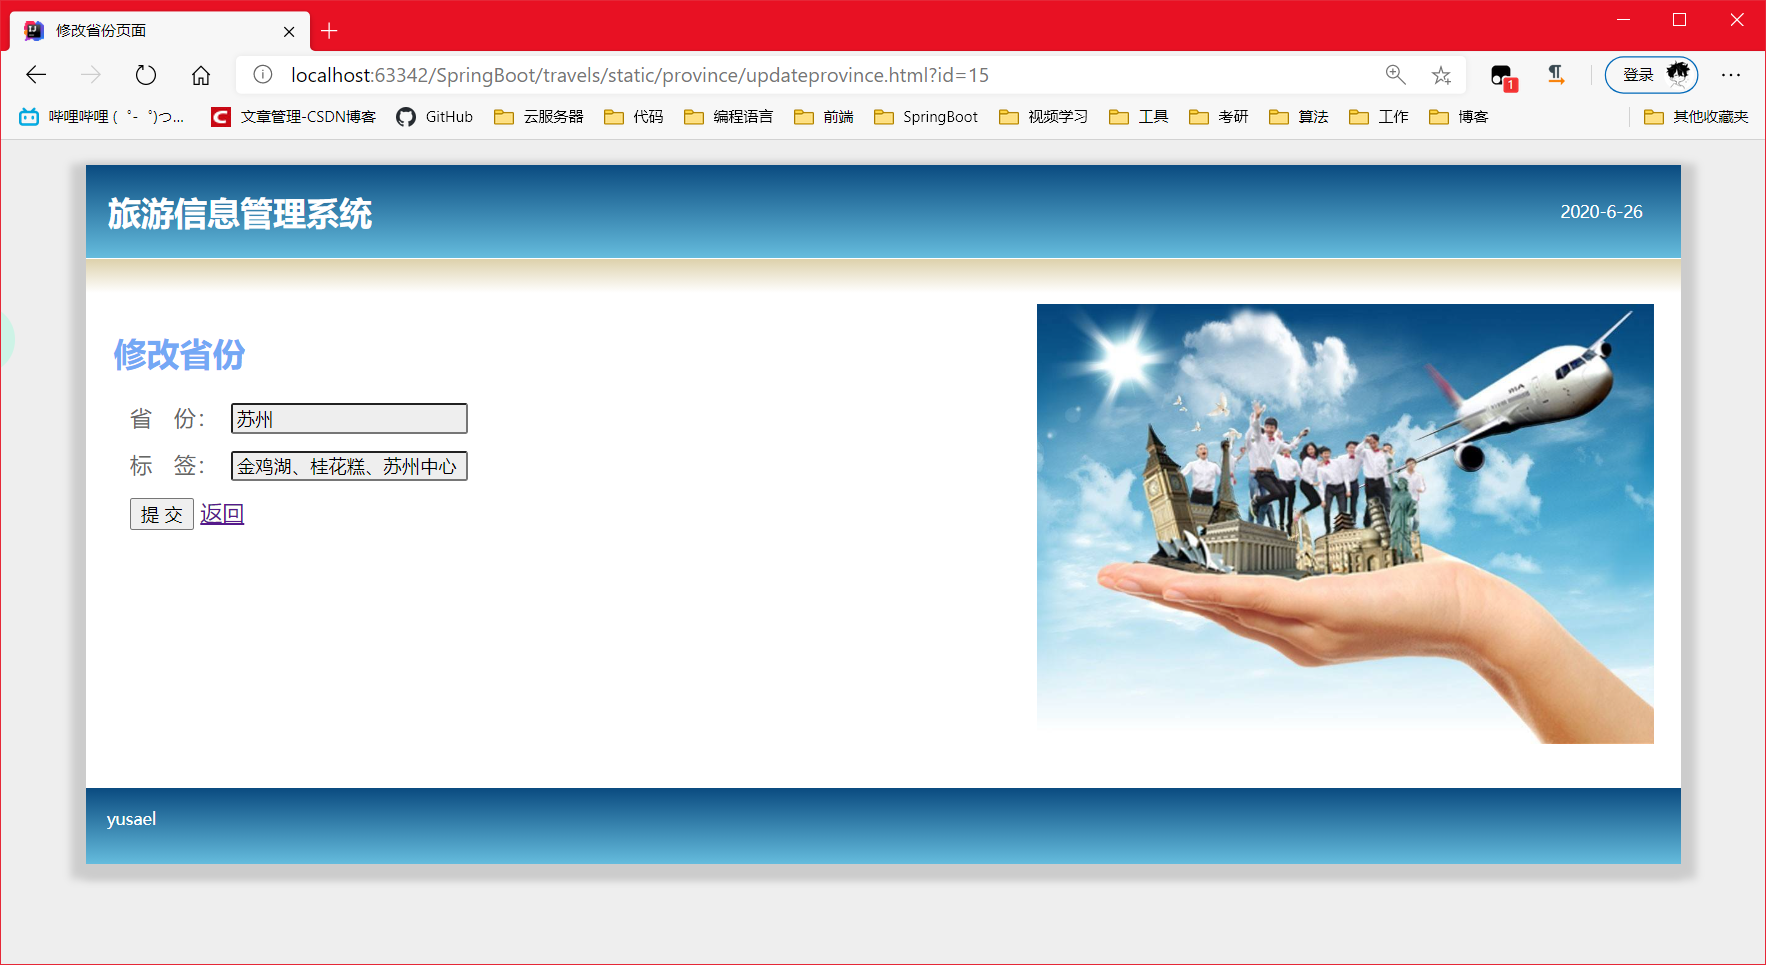
修改省份页面:
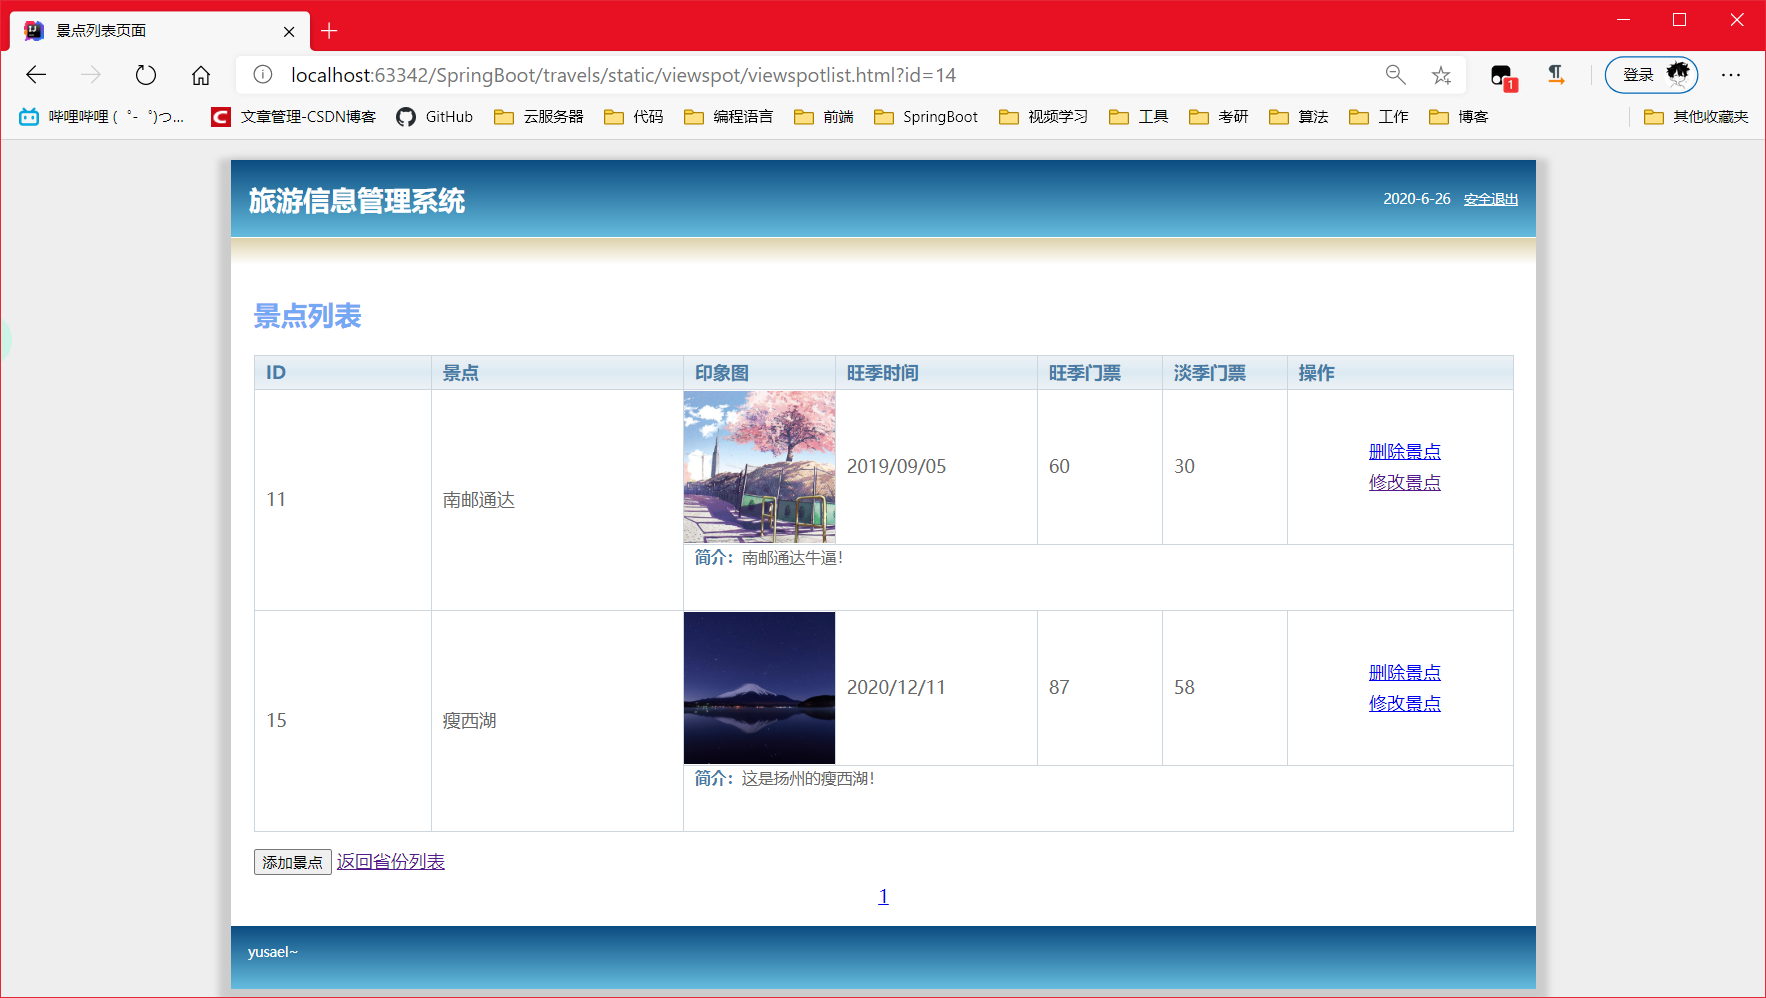
景点列表页面:
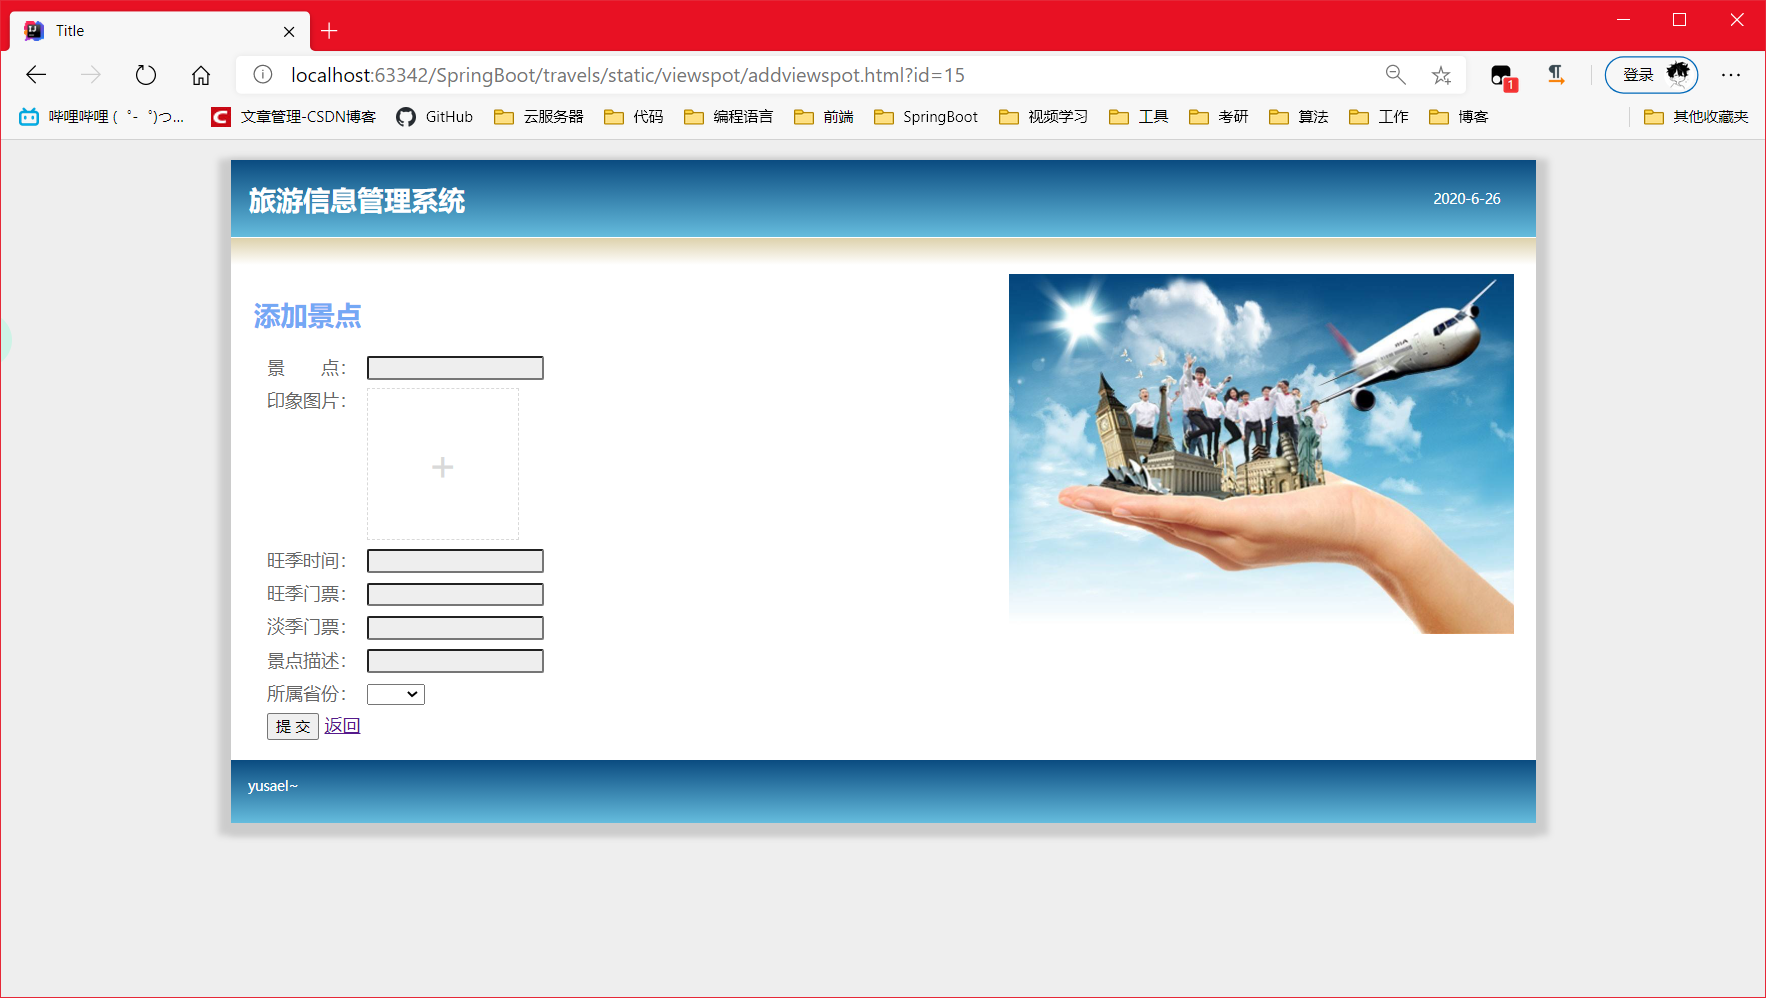
添加景点页面:
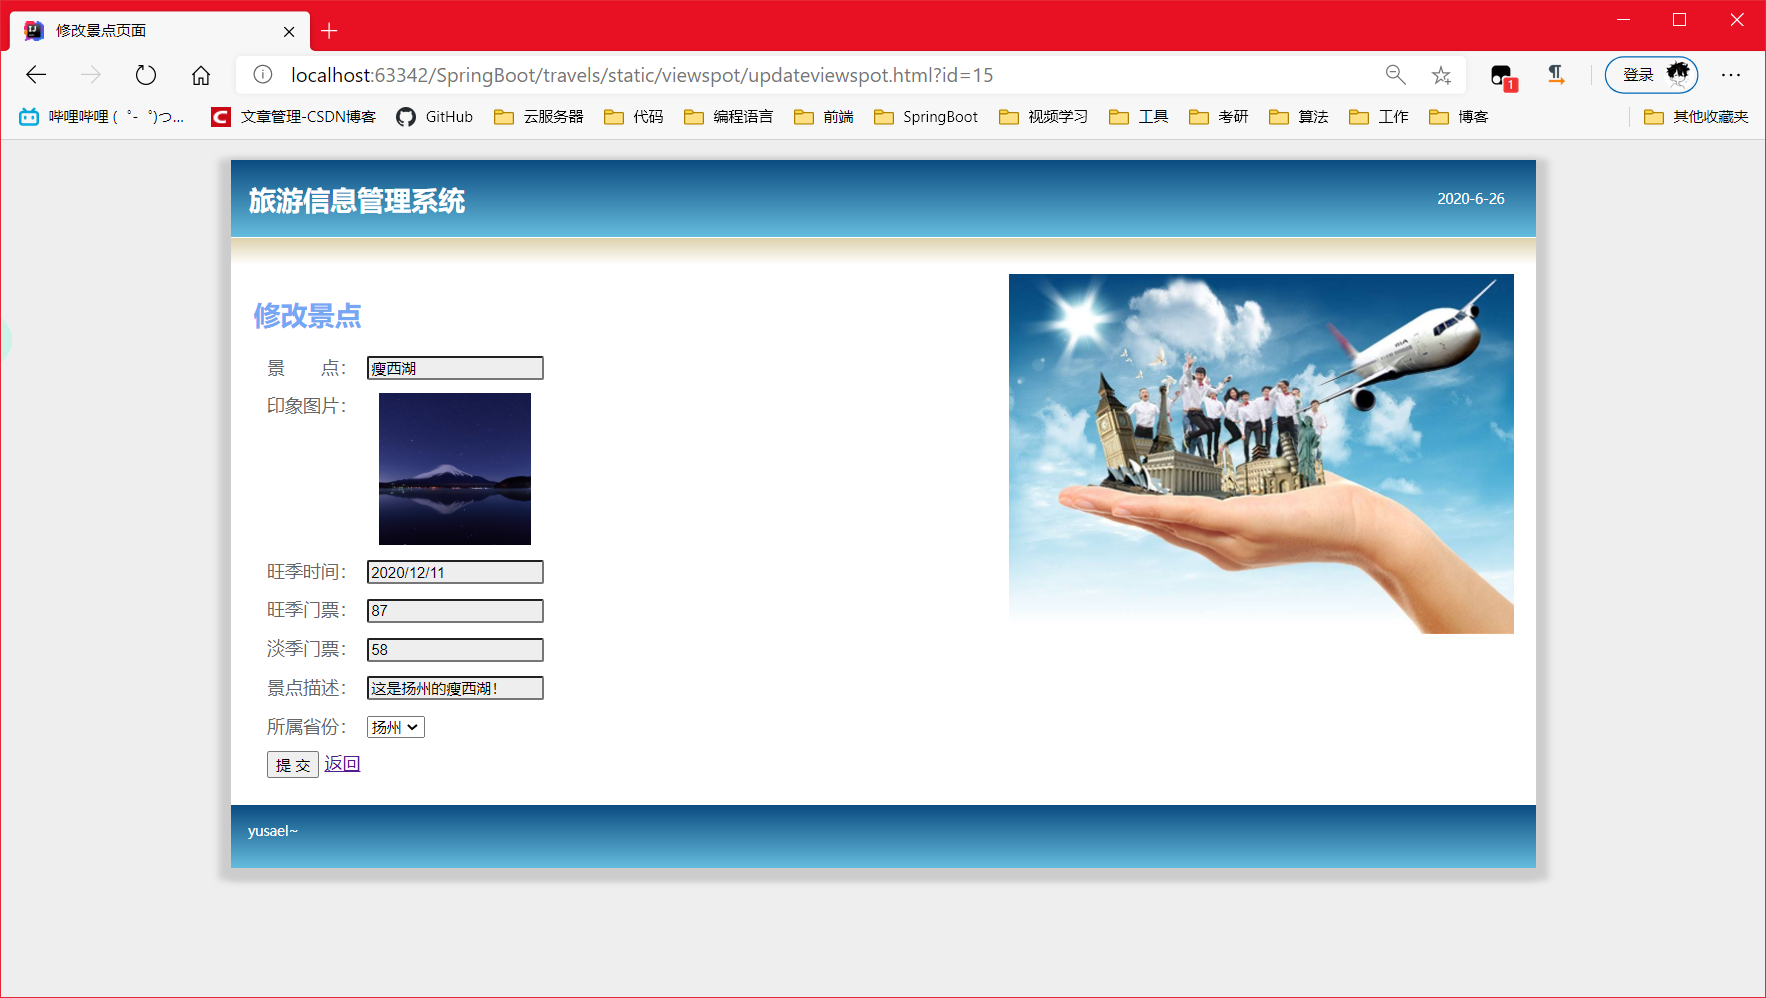
修改景点页面:
数据库建表
用户表 t_user —— 独立的表
- id、username、password、email
省份表 t_province [省份表 : 景点表] —— [1 : N]
- id、name、tags、placecounts
景点表 t_place
- id、name、picpath、hottime、hotticket、dimticket、placedes、provinceid(外键)
数据库名:travels
用户表 SQL:
CREATE TABLE t_user(
	id INT(6) PRIMARY KEY AUTO_INCREMENT,
	username VARCHAR(60),
	password VARCHAR(60),
	email VARCHAR(60)
);
省份表 SQL:
CREATE TABLE t_province(
	id INT(6) PRIMARY KEY AUTO_INCREMENT,
	name VARCHAR(60),
	tags VARCHAR(80),
	placecounts INT(4)
);
景点表 SQL:
CREATE TABLE t_place(
	id INT(6) PRIMARY KEY AUTO_INCREMENT,
	name VARCHAR(60),
	picpath MEDIUMTEXT,
	hottime	TIMESTAMP,
	hotticket	DOUBLE(7,2),
	dimticket	DOUBLE(7,2),
	placedes	VARCHAR(300),
	provinceid	INT(6) REFERENCES t_province(id)
);
环境搭建
利用 Spring Initializr 快速搭建 SpringBoot 项目。
引入依赖(pom.xml)
<?xml version="1.0" encoding="UTF-8"?>
<project xmlns="http://maven.apache.org/POM/4.0.0" xmlns:xsi="http://www.w3.org/2001/XMLSchema-instance" xsi:schemaLocation="http://maven.apache.org/POM/4.0.0 https://maven.apache.org/xsd/maven-4.0.0.xsd">
	<modelVersion>4.0.0</modelVersion>

	<!--继承springboot父项目-->
	<parent>
		<groupId>org.springframework.boot</groupId>
		<artifactId>spring-boot-starter-parent</artifactId>
		<version>2.3.1.RELEASE</version>
		<relativePath/> <!-- lookup parent from repository -->
	</parent>

	<groupId>com.yusael</groupId>
	<artifactId>mytravels</artifactId>
	<version>0.0.1-SNAPSHOT</version>
	<name>mytravels</name>
	<description>springboot + vue</description>

	<properties>
		<java.version>1.8</java.version>
	</properties>

	<dependencies>
		<!--web依赖-->
		<dependency>
			<groupId>org.springframework.boot</groupId>
			<artifactId>spring-boot-starter-web</artifactId>
		</dependency>
		<!--mybatis依赖-->
		<dependency>
			<groupId>org.mybatis.spring.boot</groupId>
			<artifactId>mybatis-spring-boot-starter</artifactId>
			<version>2.1.2</version>
		</dependency>
		<!--热部署-->
		<dependency>
			<groupId>org.springframework.boot</groupId>
			<artifactId>spring-boot-devtools</artifactId>
			<scope>runtime</scope>
			<optional>true</optional>
		</dependency>
		<!--mysql-->
		<dependency>
			<groupId>mysql</groupId>
			<artifactId>mysql-connector-java</artifactId>
			<scope>runtime</scope>
		</dependency>
		<!--lombok-->
		<dependency>
			<groupId>org.projectlombok</groupId>
			<artifactId>lombok</artifactId>
			<optional>true</optional>
		</dependency>
		<!--druid-->
		<dependency>
			<groupId>com.alibaba</groupId>
			<artifactId>druid</artifactId>
			<version>1.1.12</version>
		</dependency>
		<!--test-->
		<dependency>
			<groupId>org.springframework.boot</groupId>
			<artifactId>spring-boot-starter-test</artifactId>
		</dependency>
		<!--文件上传-->
		<dependency>
			<groupId>commons-fileupload</groupId>
			<artifactId>commons-fileupload</artifactId>
			<version>1.4</version>
		</dependency>
		<!--测试-->
		<dependency>
			<groupId>org.springframework.boot</groupId>
			<artifactId>spring-boot-starter-test</artifactId>
			<scope>test</scope>
			<exclusions>
				<exclusion>
					<groupId>org.junit.vintage</groupId>
					<artifactId>junit-vintage-engine</artifactId>
				</exclusion>
			</exclusions>
		</dependency>
	</dependencies>

	<build>
		<plugins>
			<plugin>
				<groupId>org.springframework.boot</groupId>
				<artifactId>spring-boot-maven-plugin</artifactId>
			</plugin>
		</plugins>
	</build>

</project>
配置文件(application.properties)
application.properties:
server.port=8989
spring.application.name=travels

spring.datasource.type=com.alibaba.druid.pool.DruidDataSource
spring.datasource.driver-class-name=com.mysql.jdbc.Driver
spring.datasource.url=jdbc:mysql://localhost:3306/travels?characterEncoding=UTF-8
spring.datasource.username=root
spring.datasource.password=1234

mybatis.mapper-locations=classpath:com/yusael/travels/mapper/*.xml
mybatis.type-aliases-package=com.yusael.travels.entity

logging.level.root=info
logging.level.com.yusael.travels.dao=debug

# 上传的图片存放的路径
upload.dir=D:/CodePro/IdeaPro/SpringBoot/travels/images
spring.resources.static-locations=file:${upload.dir}
href=“javascript:;” 含义
代码中经常遇到这种写法:
<a href="javascript:;" @click="deleteProvince(province.id)">删除省份</a>
其中的 href="javascript:;" 是什么意思呢?
javascript:表示在触发默认动作时,执行一段 JavaScript 代码;javascript:;表示什么都不执行,这样点击时就没有任何反应,相当于去掉 a 标签的默认行为。
select – option 绑定 Vue 实例
select 中 通过 v-model 绑定当前的选项,option 中使用 v-for 遍历显示所有选项。
<label>
     <div class="label-text">所属省份:</div>
     <select v-model="place.provinceid">
         <option v-for="(pro,index) in provinces" :value="pro.id" v-text="pro.name"></option>
     </select>
 </label>
删除时增加确认选项
if (confirm("确定要删除景点吗?")) {

	// code....
}

Vue 获取地址栏跳转的参数
对于这么一个 a 标签,我们要在另一个页面获取这个 url 的参数 id:
<a :href="'./updateprovince.html?id=' + province.id">修改省份</a>
可以通过 location.href 获取 url 再进行截取:
var id = location.href.substring(location.href.indexOf("=") + 1);
前后端分离项目—验证码功能
验证码工具类:
package com.yusael.travels.utils;


import java.awt.Color;
import java.awt.Font;
import java.awt.Graphics;
import java.awt.image.BufferedImage;
import java.io.IOException;
import java.io.OutputStream;
import java.util.Random;

import javax.imageio.ImageIO;


public class CreateImageCode {

    // 图片的宽度。
    private int width = 160;
    // 图片的高度。
    private int height = 40;
    // 验证码字符个数
    private int codeCount = 4;
    // 验证码干扰线数
    private int lineCount = 20;
    // 验证码
    private String code = null;
    // 验证码图片Buffer
    private BufferedImage buffImg = null;
    Random random = new Random();

    public CreateImageCode() {

        creatImage();
    }

    public CreateImageCode(int width, int height) {

        this.width = width;
        this.height = height;
        creatImage();
    }

    public CreateImageCode(int width, int height, int codeCount) {

        this.width = width;
        this.height = height;
        this.codeCount = codeCount;
        creatImage();
    }

    public CreateImageCode(int width, int height, int codeCount, int lineCount) {

        this.width = width;
        this.height = height;
        this.codeCount = codeCount;
        this.lineCount = lineCount;
        creatImage();
    }

    // 生成图片
    private void creatImage() {

        int fontWidth = width / codeCount;// 字体的宽度
        int fontHeight = height - 5;// 字体的高度
        int codeY = height - 8;

        // 图像buffer
        buffImg = new BufferedImage(width, height, BufferedImage.TYPE_INT_RGB);
        Graphics g = buffImg.getGraphics();
        //Graphics2D g = buffImg.createGraphics();
        // 设置背景色
        g.setColor(getRandColor(200, 250));
        g.fillRect(0, 0, width, height);


        // 设置字体
        //Font font1 = getFont(fontHeight);
        Font font = new Font("Fixedsys", Font.BOLD, fontHeight);
        g.setFont(font);

        // 设置干扰线
        for (int i = 0; i < lineCount; i++) {

            int xs = random.nextInt(width);
            int ys = random.nextInt(height);
            int xe = xs + random.nextInt(width);
            int ye = ys + random.nextInt(height);
            g.setColor(getRandColor(1, 255));
            g.drawLine(xs, ys, xe, ye);
        }

        // 添加噪点
        float yawpRate = 0.01f;// 噪声率
        int area = (int) (yawpRate * width * height);
        for (int i = 0; i < area; i++) {

            int x = random.nextInt(width);
            int y = random.nextInt(height);

            buffImg.setRGB(x, y, random.nextInt(255));
        }


        String str1 = randomStr(codeCount);// 得到随机字符
        this.code = str1;
        for (int i = 0; i < codeCount; i++) {

            String strRand = str1.substring(i, i + 1);
            g.setColor(getRandColor(1, 255));
            // g.drawString(a,x,y);
            // a为要画出来的东西,x和y表示要画的东西最左侧字符的基线位于此图形上下文坐标系的 (x, y) 位置处

            g.drawString(strRand, i*fontWidth+3, codeY);
        }


    }

    // 得到随机字符
    private String randomStr(int n) {

        String str1 = "ABCDEFGHIJKLMNOPQRSTUVWXYZabcdefghijklmnopqrstuvwxyz1234567890";
        String str2 = "";
        int len = str1.length() - 1;
        double r;
        for (int i = 0; i < n; i++) {

            r = (Math.random()) * len;
            str2 = str2 + str1.charAt((int) r);
        }
        return str2;
    }

    // 得到随机颜色
    private Color getRandColor(int fc, int bc) {
   // 给定范围获得随机颜色
        if (fc > 255)
            fc = 255;
        if (bc > 255)
            bc = 255;
        int r = fc + random.nextInt(bc - fc);
        int g = fc + random.nextInt(bc - fc);
        int b = fc + random.nextInt(bc - fc);
        return new Color(r, g, b);
    }

    /** * 产生随机字体 */
    private Font getFont(int size) {

        Random random = new Random();
        Font font[] = new Font[5];
        font[0] = new Font("Ravie", Font.PLAIN, size);
        font[1] = new Font("Antique Olive Compact", Font.PLAIN, size);
        font[2] = new Font("Fixedsys", Font.PLAIN, size);
        font[3] = new Font("Wide Latin", Font.PLAIN, size);
        font[4] = new Font("Gill Sans Ultra Bold", Font.PLAIN, size);
        return font[random.nextInt(5)];
    }

    // 扭曲方法
    private void shear(Graphics g, int w1, int h1, Color color) {

        shearX(g, w1, h1, color);
        shearY(g, w1, h1, color);
    }

    private void shearX(Graphics g, int w1, int h1, Color color) {


        int period = random.nextInt(2);

        boolean borderGap = true;
        int frames = 1;
        int phase = random.nextInt(2);

        for (int i = 0; i < h1; i++) {

            double d = (double) (period >> 1)
                    * Math.sin((double) i / (double) period
                    + (6.2831853071795862D * (double) phase)
                    / (double) frames);
            g.copyArea(0, i, w1, 1, (int) d, 0);
            if (borderGap) {

                g.setColor(color);
                g.drawLine((int) d, i, 0, i);
                g.drawLine((int) d + w1, i, w1, i);
            }
        }

    }

    private void shearY(Graphics g, int w1, int h1, Color color) {


        int period = random.nextInt(40) + 10; // 50;

        boolean borderGap = true;
        int frames = 20;
        int phase = 7;
        for (int i = 0; i < w1; i++) {

            double d = (double) (period >> 1)
                    * Math.sin((double) i / (double) period
                    + (6.2831853071795862D * (double) phase)
                    / (double) frames);
            g.copyArea(i, 0, 1, h1, 0, (int) d);
            if (borderGap) {

                g.setColor(color);
                g.drawLine(i, (int) d, i, 0);
                g.drawLine(i, (int) d + h1, i, h1);
            }

        }

    }

    public void write(OutputStream sos) throws IOException {

        ImageIO.write(buffImg, "png", sos);
        sos.close();
    }

    public BufferedImage getBuffImg() {

        return buffImg;
    }

    public String getCode() {

        return code.toLowerCase();
    }

    //使用方法
 /*public void getCode3(HttpServletRequest req, HttpServletResponse response,HttpSession session) throws IOException{ // 设置响应的类型格式为图片格式 response.setContentType("image/jpeg"); //禁止图像缓存。 response.setHeader("Pragma", "no-cache"); response.setHeader("Cache-Control", "no-cache"); response.setDateHeader("Expires", 0); CreateImageCode vCode = new CreateImageCode(100,30,5,10); session.setAttribute("code", vCode.getCode()); vCode.write(response.getOutputStream()); }*/

}
后台控制器:需要对生成的验证码图片进行 Base64 编码后传到前端页面,前端再解析展示图片。
@RestController
@RequestMapping("/user")
@CrossOrigin // 允许跨域(前后端分离)
@Slf4j // 日志对象
public class UserController {

    /** * 生成验证码 * @throws IOException */
    @GetMapping("/getImage")
    public Map<String, String> getImage(HttpServletRequest request) throws IOException {

        Map<String, String> result = new HashMap<>();
        CreateImageCode createImageCode = new CreateImageCode();
        // 获取验证码
        String securityCode = createImageCode.getCode();
        // 验证码存入session
        String key = new SimpleDateFormat("yyyyMMddHHmmss").format(new Date());
        request.getServletContext().setAttribute(key, securityCode);
        // 生成图片
        BufferedImage image = createImageCode.getBuffImg();
        //进行base64编码
        ByteArrayOutputStream bos = new ByteArrayOutputStream();
        ImageIO.write(image, "png", bos);
        String string = Base64Utils.encodeToString(bos.toByteArray());
        result.put("key", key);
        result.put("image", string);
        return result;
    }
}
前端页面:
<!--前后端分离的架构, 动态访问验证码-->
<img :src="src" id="img-vcode" @click="getImage" :key="key">
<label>
    <div class="label-text">验证码:</div>
    <input type="text" name="vcode" style="width: 100px">
</label>
<script>
    const app = new Vue({

        el: "#app",
        data: {

            src: "",
            key: ""
        },
        methods: {

            getImage() {

                _this = this;
                axios.get("http://localhost:8989/user/getImage").then((res) => {

                    console.log(res.data);
                    _this.src = "data:image/png;base64," + res.data.image;
                    _this.key = res.data.key;
                })
            }
        },
        created() {

            this.getImage(); // 获取验证码
        }
    });
</script>
前后端分离项目—分页功能
mysql 的 LIMIT 分页语句:
LIMIT n: 取前 n 个数据,相当于LIMIT 0, n;LIMIT 2, 4: 从第 3 行开始检索 4 条数据;
分页查询的SQL语句:参数1是开始查询的数据行,参数2是查询数据条数。
<!--分页查询所有-->
<select id="findByPage" resultType="Province">
    SELECT * FROM t_province
    ORDER BY placecounts
    LIMIT #{start}, #{rows}
</select>
后台业务层代码:
传入的参数是当前所在页数,以及页面显示数量,无法直接应用 MySQL 的 limit 查询子句中,需要转换一下:start = (page - 1) * rows 计算出 limit 字句的第一个参数。
@Override
public List<Province> findByPage(Integer page, Integer rows) {

    // 传入的是当前页数, 以及页面显示的数量
    // 所以要根据这两个参数计算从mysql中查询数据要从第几行开始查几条
    int start = (page - 1) * rows; // 计算要查询的数据是从第几条数据开始的
    return provinceDAO.findByPage(start, rows);
}
后台控制器代码:
/** * 分页查询数据 */
@GetMapping("/findByPage")
public Map<String, Object> findByPage(Integer page, Integer rows) {

    page = page==null ? 1 : page;
    rows = rows==null ? 4 : rows;
    System.out.println(page + " : " + rows);
    HashMap<String, Object> map = new HashMap<>();

    // 分页查询出当前页面显示的数据
    List<Province> provinces = provinceService.findByPage(page, rows);

    // 查询总数据条数, 用于计算总页数
    Integer totals = provinceService.findTotals();
    // 计算总页数
    // 如果总数据条数可以整除每一页数据个数, 说明结果正好为总页数
    // 如果总数据条数无法整除每一页数据个数, 说明总页数需要结果 + 1
    Integer totalPage = totals % rows == 0 ? totals / rows : totals / rows + 1;

    map.put("provinces", provinces);
    map.put("totals", totals);
    map.put("totalPage", totalPage);
    map.put("page", page);

    map.forEach((k, v) -> {

        System.out.println(k + ": " + v);
    });
    return map;
}
前端页面:
<div id="pages">
<!--上一页, 只有当前所在页数>1才会显示-->
<a href="javascript:;" class="page" v-if="page > 1" @click="findAll(page - 1)"><上一页</a>
<!--页面-->
<a href="javascript:;" class="page" v-for="index in totalPage" @click="findAll(index)" v-text="index"></a>
<!--下一页, 只有当前所在页数<总页数才会显示-->
<a href="javascript:;" class="page" v-if="page < totalPage" @click="findAll(page + 1)">下一页></a>
</div>
超链接的写法可以更优化一下:优化后点击当前所在页数无效(不会发送任何请求)。
<div id="pages">
<a href="javascript:;" class="page" v-if="page > 1" @click="findAllPage(page - 1)"><上一页</a>
<span v-for="index in totalPage">
<a href="javascript:;" class="page" v-if="page == index" v-text="index"></a>
<a href="javascript:;" class="page" v-if="page != index" @click="findAllPage(index)" v-text="index"></a>
</span>
<a href="javascript:;" class="page" v-if="page < totalPage" @click="findAllPage(page + 1)">下一页></a>
</div>
<script> const app = new Vue({
     el: "#app", data: {
     provinces : [], page : 1, rows : 4, totalPage : 0, totals : 0, }, methods: {
     findAll(indexpage) {
     // 查询某一页的数据 if (indexpage) {
     this.page = indexpage; } _this = this; // 保存当前对象, 用于下面的作用域 axios.get("http://localhost:8989/province/findByPage?page=" + this.page + "&rows=" + this.rows).then((res) => {
     _this.provinces = res.data.provinces; _this.page = res.data.page; _this.totalPage = res.data.totalPage; _this.totals = res.data.totals; }); }, }, created() {
     this.findAll(); } }); </script>
前后端分离项目—日期数据类型的处理
前后端数据交互采用的是 Json 的话,只需要在实体类中的属性加一个注解即可:
@Data
@AllArgsConstructor
@NoArgsConstructor
@Accessors(chain = true)
@ToString
public class Place {

    private String id;
    private String name;
    private String picpath;

    @JsonFormat(pattern = "yyyy-MM-dd")
    private Date hottime; // 前后端分离项目对日期数据类型的处理

    private Double hotticket;
    private Double dimticket;
    private String placedes;
    private String provinceid;
}
前后端分离项目—文件上传
注:由于我们往数据库中插入的是文件的 Base64 编码,因此需要将 数据库中 picpath 字段的大小设置的足够大,可以使用以下几个数据类型:
| 数据类型 | 最大长度 | 近似值 |
|---|---|---|
| TINYTEXT | 256 bytes | |
| TEXT | 65,535 bytes | ~64kb |
| MEDIUMTEXT | 16,777,215 bytes | ~16MB |
| LONGTEXT | 4,294,967,295 bytes | ~4GB |
在配置文件 application.properties 中配置文件上传的路径:
spring.resources.static-locations=file:${upload.dir}
upload.dir=D:/CodePro/IdeaPro/SpringBoot/travels/images
在后台控制器中 注入路径,并实现文件上传(用 Base64 编码进行处理):
@RestController
@RequestMapping("/place")
@CrossOrigin
public class PlaceController {

    @Autowired
    private PlaceService placeService;
    @Value("${upload.dir}") // 注入
    private String realPath;
    /** * 保存景点信息 * @param pic * @return */
    @PostMapping("save")
    public Result save(MultipartFile pic, Place place) throws IOException {

        Result result = new Result();
        try {

            // 文件上传
            String extension = FilenameUtils.getExtension(pic.getOriginalFilename());
            String newFileName = new SimpleDateFormat("yyyyMMddHHmmss").format(new Date()) + extension;
            // base64编码处理(注意, 这一步必须放在 transferTo 操作前面!)
            place.setPicpath(Base64Utils.encodeToString(pic.getBytes()));
            // 文件上传
            File file = new File(realPath);
            pic.transferTo(new File(file,newFileName));
            // 保存place对象
            placeService.save(place);
            result.setMsg("保存景点信息成功!!!");
        } catch (Exception e) {

            e.printStackTrace();
            result.setState(false).setMsg(e.getMessage());
        }
        return result;
    }
}
前端中上传文件:给标签添加属性 ref="myFile"
<div class="label-text">印象图片:</div>
<div style="text-align: center;padding-left: 36%">
    <div id="upload-tip">+</div>
    <img src="" alt="" id="img-show" style="display: none">
    <input type="file" id="imgfile" ref="myFile" style="display: none" onchange="imgfileChange()">
</div>
<script> const app = new Vue({
     el: "#app", data: {
     provinces: [], place: {
    }, id: "", }, methods: {
     savePlaceInfo() {
     // 保存景点的方法 console.log(this.place); // 获取到了place对象 let myFile = this.$refs.myFile; let files = myFile.files; let file = files[0]; let formData = new FormData(); formData.append("pic", file); formData.append("name", this.place.name); formData.append("hottime", this.place.hottime); formData.append("hotticket", this.place.hotticket); formData.append("dimticket", this.place.dimticket); formData.append("placedes", this.place.placedes); formData.append("provinceid", this.place.provinceid); //axios axios({
     method: 'post', url: 'http://localhost:8989/place/save', data: formData, headers: {
     'Content-Type': 'multipart/form-data' } }).then((res) => {
     console.log(res.data); if (res.data.state) {
     alert(res.data.msg + ",点击确定回到景点列表"); location.href = "./viewspotlist.html?id=" + this.place.provinceid; } else {
     alert(res.data.msg + ",点击确定回到景点列表"); } }); } }, }); </script>
前端中展示 base64 格式的文件:
<img :src="'data:image/png;base64,' + place.picpath" class="viewspotimg">
发布者:全栈程序员-用户IM,转载请注明出处:https://javaforall.cn/144852.html原文链接:https://javaforall.cn
【正版授权,激活自己账号】: Jetbrains全家桶Ide使用,1年售后保障,每天仅需1毛
【官方授权 正版激活】: 官方授权 正版激活 支持Jetbrains家族下所有IDE 使用个人JB账号...
