大家好,又见面了,我是你们的朋友全栈君。
把数据库中的静态图片遍历在前端页面上
先上数据库中数据


其次是后端的接口(把所有数据封装到List集合中发送过去):
  @RequestMapping(value = "/scenicSpots",method = RequestMethod.GET)
    public ActionResult findScenicSpots(){
        List<ScenicSpots> scenicSpots = scenicSpotService.QueryScenicSpots();
        if(scenicSpots!=null){
            ActionResult result = new ActionResult(200, "成功了", scenicSpots);
            return result;
        }else{
            return new ActionResult(400,"查询失败",null);
        }

    }
然后是前端的数据(把数据放在项目中的@/assets/images底下):

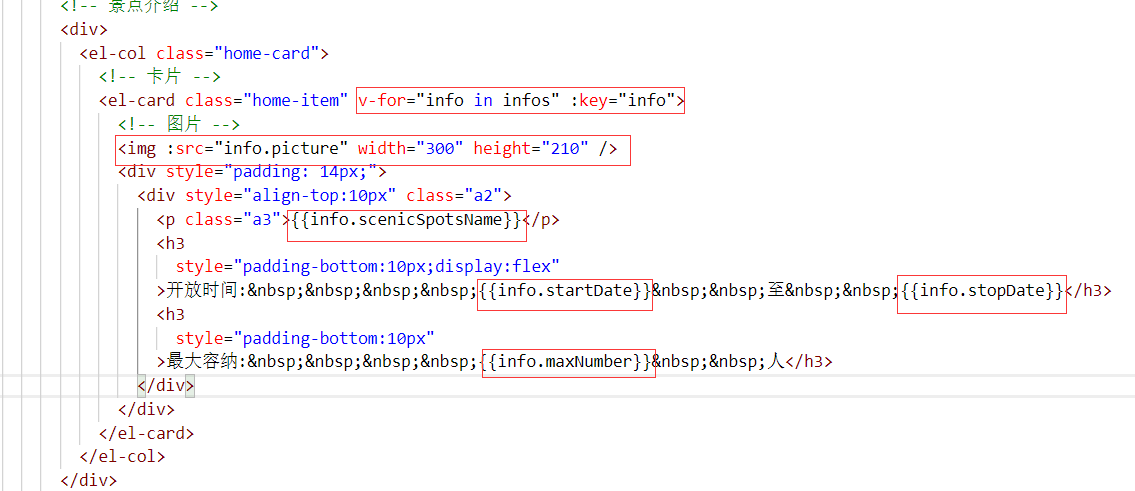
前端代码:
<el-col class="home-card">
<!-- 卡片 -->
<el-card class="home-item" v-for="info in infos" :key="info">
<!-- 图片 -->
<img :src="info.picture" width="300" height="210" />
<div style="padding: 14px;"> <div style="align-top:10px" class="a2"> <p class="a3">{
{
info.scenicSpotsName}}</p>
<h3
style="padding-bottom:10px;display:flex"
>开放时间: {
{
info.startDate}} 至 {
{
info.stopDate}}</h3>
<h3
style="padding-bottom:10px"
>最大容纳: {
{
info.maxNumber}} 人</h3>
</div>
</div>
</el-card>
</el-col>
解释一下:用v-for=“info in infos” :key=”info”遍历从前端传过来的数据,
script部分的处理:
  created() {

    // 获取全部数据 this.$axios .get("scenicSpots", {
   })//向前端请求路径 .then((response) => {

        console.log(response);
        this.infos = response.data.data;//把后端的数据赋值给infos
        for (var i = 0; i < this.infos.length; i++) {
   //遍历一下传过来的数据的图片的信息
          this.infos[i].picture = require("@/assets/images/" +
            this.infos[i].picture);//用require处理一下图片
          console.log(this.infos[i].picture);//可以在浏览器看一下处理后的地址长什么样,我也不明白为什么能显示出来,希望大神赐教
        }
      }) .catch((error) => {

        alert(error);
        console.log(error);
      });
  },
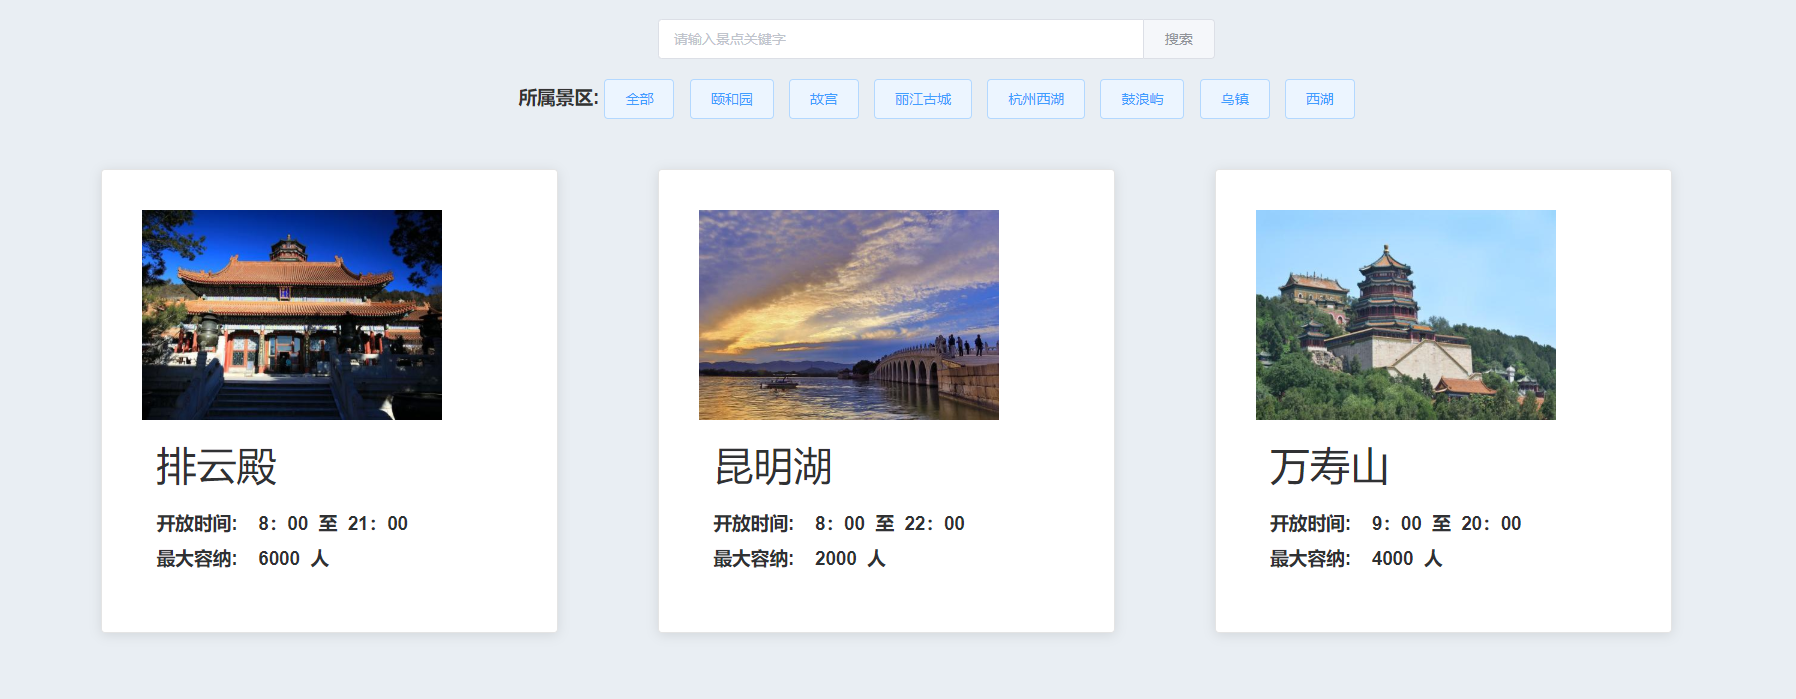
最后放一下成功后的图片:
版权声明:本文内容由互联网用户自发贡献,该文观点仅代表作者本人。本站仅提供信息存储空间服务,不拥有所有权,不承担相关法律责任。如发现本站有涉嫌侵权/违法违规的内容, 请发送邮件至 举报,一经查实,本站将立刻删除。
发布者:全栈程序员-用户IM,转载请注明出处:https://javaforall.cn/142962.html原文链接:https://javaforall.cn
【正版授权,激活自己账号】: Jetbrains全家桶Ide使用,1年售后保障,每天仅需1毛
【官方授权 正版激活】: 官方授权 正版激活 支持Jetbrains家族下所有IDE 使用个人JB账号...
